
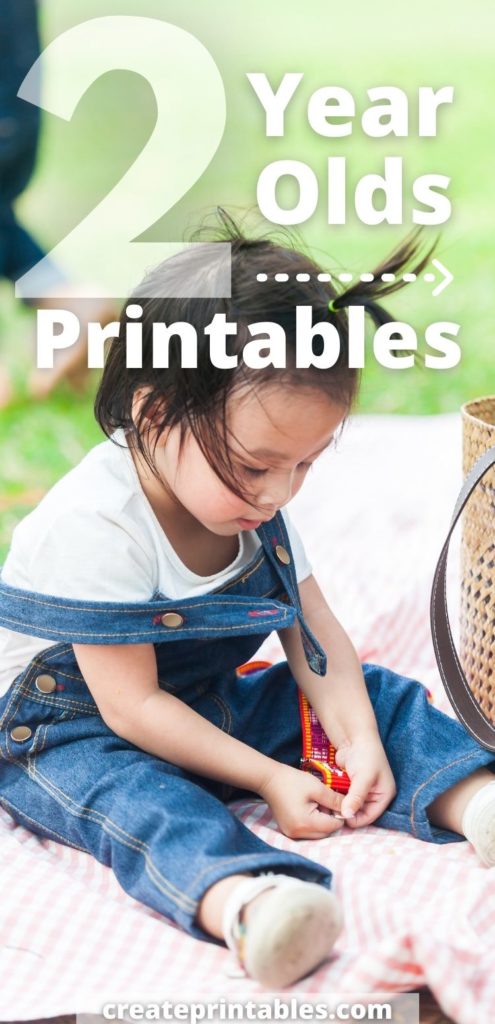
Your little one just turned two. Are you nervous about this particular age? Have you heard horror stories about the “terrible twos? “Well, it is definitely up to you to choose to see the glass half full or half empty. But these little guys are more incredible than ever!
Yes, when children turn two years of age, all of a sudden, it seems like they are bursting at the seams emotionally, verbally and physically. They are not babies anymore, but they are not big kids either.
They are finding their sense of independence, but their lack of physical and mental maturity still makes them need help with many things. But don’t be fooled! They can do a lot more than you think.
Two-year-olds are amazing! It is unbelievable how much they can actually do, given the opportunity and the training. So, let’s talk about how we can help your two-year-old be successful in their pre-writing practice.
Remember, they are still not writing letters, words or sentences, but they are definitely exploring the pre-writing realm and making great strides in it. By the time they turn two, toddlers are most likely able to trace vertical lines, horizontal lines and circles on paper.
By the time they are 2 1/2 years old, most can copy vertical lines, horizontal lines and circles on paper or on a vertical easel. If you look at the alphabet, you will notice that in order to know how to write the letters, all you need is to know how to write vertical strokes horizontal strokes and circles or curves. What a great start!
While two-year olds are more familiar with crayons, markers and pencils, than one-year olds, they are still not ready to make them their tools for pre-writing. We still have some fine motor skill work to do.
Let’s talk about the two best hands-on fine motor skills practice for toddlers this age. The two activities are: sandpaper letters and the sand tray.
Introducing Letters
But first, let’s talk about introducing letters to your two-year-old many preschoolers and early childhood educators introduce children to the alphabet in the order in which they appear on the alphabet: a, b, c, etc. but there is a different way to do it. The Montessori method, for example, encourages a CVC (consonant-vowel-consonant) pattern when introducing letters (always lower case first).
The order is:
- a, s, m, t, b
- i, f, h, c, d, l
- o, g, k, n, r
- u, j, p, q, y
- e, v, w, x, z
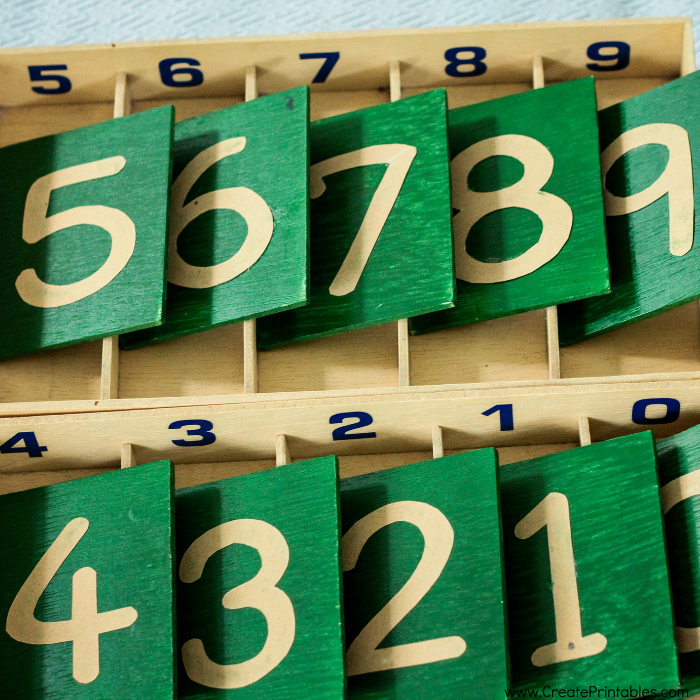
Sandpaper Letters
Children love sandpaper letters. You can buy them ready-made (insert aff link here) or make them yourself. There are two ways that you can make them yourself. One is using boards, sand and glue and the other method is using boards, sandpaper, scissors and glue.
Sandpaper letters are very helpful when it comes to teaching children how to form letters with tactile sensory inputs as they feel the letter while tracing them.
You will need one board for each letter. The boards can be squares of 4×4 inches for the short letters such as a, n, s, o. And boards for tall and low letters such as h, t, g, y can be rectangular measuring 4 x 6“.
The boards can be made out of card stock, cardboard, poster board or particleboard. The sturdiest one is particleboard and it is the one that I recommend the most for its durability.
On each board, write the letter of the alphabet with a permanent marker. You can either put glue on the letter and apply sand on it, like you would glitter. Let it dry completely before patting to remove excess sand.
Or you can use the letter on the board as a pattern to cut the shape of the letter out of sandpaper to glue on top of the letter.
The point of this activity is for children to be able to trace letters while feeling texture on the tip of their finger. Introduce a few letters at a time and have your child practice those letters over and over until they are able to trace the letter on the sandpaper letters and then traced the ladder in the air with the same index finger.
Introduce the letters in the order above (as The Montessori Method recommends), so in time, they can form simple CVC words to trace, such as mat, sam, bat. Sandpaper letters make the perfect traceable names and words!
Sand Tray
The sand tray is the next best thing to use, once sandpaper letters have been introduced. This is where you have a wooden or plastic tray with sand in it. I like to get a rectangular tray over a square tray because once they learn to trace the letters, they will learn to trace short words and a rectangular tray is much more appropriate for that next step.
You do not need a thick layer of sand, only about 1/4 inch thick. If you live near the beach or the desert, you can get sand from there. You can buy playground sand at home building stores or you can buy colored sand at a pet shop.
Your two-year-old will be tracing letters on the sand to show the bottom of the tray. This is a great exercise after the sandpaper letters to ensure that your child is tracing the letters in the right order.
Make alphabet cards or use the sandpaper letters to show your child and then they proceed to trace the letter that you have shown them. Two-year-olds have so much fun working with the sand tray.
Once the child traces a letter and they are ready for the next one, simply teach them how to take each end of the tray and gently shake back-and-forth to return all the sand to one layer or use a ruler to make the sand even on the tray again.
I hope you have found these ideas helpful! Your little one will be on their way to tracing their name and tracing names of familiar objects in no time!
